
A paver patio or walkway only looks as good as the ground underneath it. Skip the leveling and base work, and you’ll end up with pavers that rock underfoot, sink in wet spots or grow weeds through the joints within a year or two. Do it right the first time, and the same patio can last decades.
None of this takes special skills, just patience and the right layers in the right order. Here’s how to level ground for pavers from bare dirt to a finished, walkable surface.
What You’ll Need
- Stakes, string line and a line level or laser level
- Spade or sod cutter, and a rented plate compactor for larger areas
- Crushed stone or paver base (often called ¾-inch minus or road base)
- Coarse leveling sand (not play sand)
- A screed board (a straight 2×4 works) and two screed pipes or rails
- Landscape fabric (optional, to block weeds)
- Edging or paver restraints
Step 1: Mark and Plan the Area
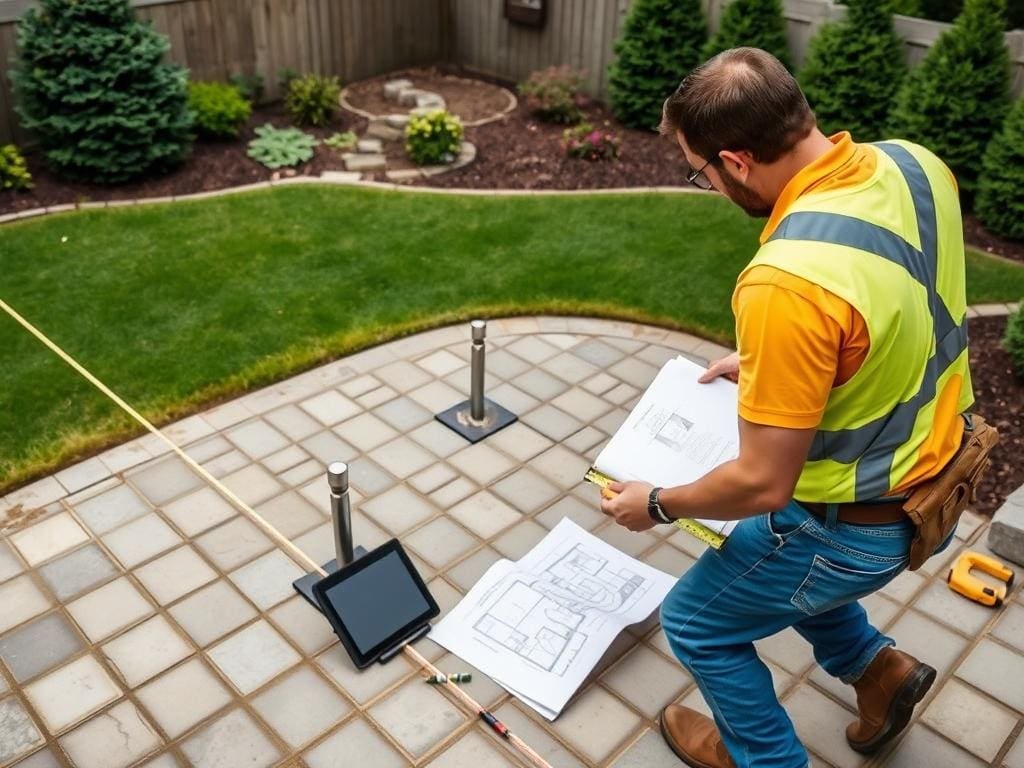
Outline the patio or path with stakes and string, or a garden hose for curves. Measure the length and width so you know how much base material and sand to order. Call your local utility locator line before you dig, since sprinkler lines and low-voltage wiring are often shallower than people expect.
Step 2: Excavate to the Right Depth
Dig out the area to about 6 to 8 inches deep for a patio or walkway, or 8 to 10 inches for a driveway that will carry vehicle weight. That depth needs to account for the gravel base, the sand layer and the thickness of the pavers themselves, so measure your paver first and adjust if it’s unusually thick.
Remove all grass, roots and topsoil down to firm subsoil. Soft, organic soil compresses over time and causes pavers to sink, so don’t skip digging past it just because it’s slower going.
Step 3: Check and Set the Slope

Water needs somewhere to go, so build in a slight slope away from your house or any structure: about ¼ inch of drop for every foot of run. Use a string line and line level stretched across the excavated area to check that the low end of the string sits at the correct drop before you add any base material. Getting the slope right now saves you from puddling pavers later.
Step 4: Add and Compact the Gravel Base
Spread crushed stone or paver base in layers no more than 2 inches deep, compacting each layer with a plate compactor before adding the next. If your total base depth is 4 to 6 inches, that usually means two or three passes. Compacting in thin layers, rather than dumping it all in at once, is what actually makes the base solid; skipping this step is the most common reason paver patios settle unevenly.
Check the surface with a level as you go. Fill low spots with a little extra material and compact again rather than trying to fix it after the sand goes down.
Step 5: Lay Landscape Fabric (Optional)

A layer of landscape fabric between the gravel and the sand helps keep sand from washing down into the gravel and slows weed growth through the joints. It’s not required, but it’s cheap insurance, especially in a spot with heavy rain or loose native soil.
Step 6: Screed the Sand Layer
Lay two lengths of pipe or metal rail on top of the compacted base, spaced apart, and fill between them with about 1 inch of coarse leveling sand. Rest your screed board across the pipes and drag it toward you in a sawing motion to strike off a smooth, level layer of sand. Remove the pipes, fill the grooves they leave with a little more sand, and smooth by hand.
Work in small sections so you don’t walk on the screeded sand before the pavers go down; footprints create low spots that show up once the patio is finished.
Step 7: Set the Pavers and Check Level Again

Place pavers directly onto the screeded sand, working from a corner or a straight edge so your pattern stays square. Check every few pavers with a level, and tap high spots down or add a pinch of sand under low spots with a rubber mallet. Keep joints consistent using plastic spacers or by eye.
Once everything is set, sweep polymeric or regular jointing sand into the gaps, then compact the whole surface one more time with the plate compactor (use a piece of carpet or plywood under the plate to avoid scratching the pavers).
Common Mistakes to Avoid
- Skipping compaction: loose gravel feels solid underfoot but settles unevenly within months.
- Using play sand or all-purpose sand: it’s too fine and washes out; use coarse concrete or paver sand.
- No slope: a dead-flat patio holds water and ice.
- Undersized base depth: thin gravel under heavy foot traffic or a driveway won’t hold up long term.
FAQ
Do I really need a plate compactor for a small patio? For anything larger than a couple of stepping stones, yes. Hand-tamping doesn’t compact gravel as evenly, and most home centers rent plate compactors by the day.
Can I skip the gravel base on already-hard soil? It’s not recommended. Even firm soil shifts with freeze-thaw cycles and moisture changes; the gravel layer is what keeps the whole patio stable.
How long does the ground need to settle before laying pavers? If you compact properly in thin layers, you can lay pavers the same day. Compaction does the settling work for you.
What’s the difference between paver base and regular gravel? Paver base (often ¾-inch minus) contains a mix of stone sizes and fine particles that lock together tightly when compacted. Plain pea gravel or drainage gravel doesn’t compact the same way and isn’t a substitute.
Once your base is solid and level, the pavers themselves are the easy part. For more inspiration, see our guides to patio pavers ideas, patio ideas using pavers and permeable pavers if you’re still deciding on a layout.