
A path of stepping stones can turn a worn dirt track across the lawn into a real feature, and it’s one of the more forgiving hardscaping projects to do yourself. If that path also needs to climb a slope, a few simple steps make the difference between a walkway people use and one they avoid because it’s awkward or slippery.
Here’s how to lay stepping stones on flat ground and how to handle the same project where the yard slopes.
What You’ll Need
- Stepping stones or flat pavers (concrete, natural stone or flagstone)
- Spade or edging tool
- Crushed gravel for the base
- Coarse sand for bedding
- Tamper or hand tamper
- Level and a garden hose or spray paint to mark the layout
- For slopes: stakes, string, a tape measure and timber or paver risers
Laying Stepping Stones on Flat Ground
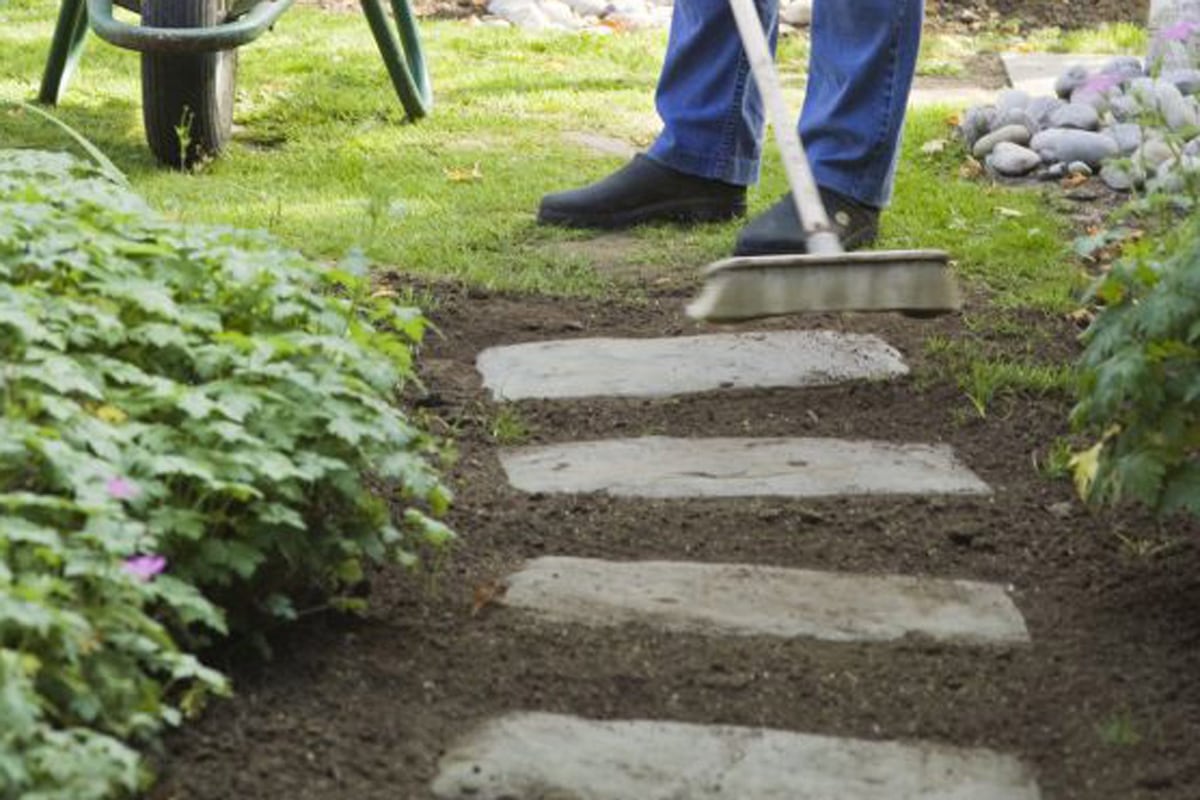
Step 1: Lay Out the Path
Set your stones on the grass first to plan spacing before digging anything. Most paths work best with stones spaced 3 to 6 inches apart, matched to a natural walking stride. Wider spacing looks more relaxed but is harder to navigate quickly; tighter spacing (12 to 18 inches on center) works better for a path kids or older adults will use often.
Step 2: Cut and Excavate Each Spot
Trace around each stone with a spade, then remove it and dig a hole slightly wider and about 2 inches deeper than the stone’s thickness, to leave room for a gravel and sand base.
Step 3: Add a Gravel Base
Fill each hole with about 2 to 3 inches of crushed gravel and tamp it firm. This layer keeps the stone from sinking or shifting after rain and helps water drain away instead of pooling under it.
Step 4: Bed the Stone in Sand
Add about ½ inch of coarse sand on top of the compacted gravel, set the stone in place, and check it with a level. The top of the stone should sit at or very slightly above the surrounding grass so a mower can pass over it without catching.
Step 5: Fill the Gaps
Pack soil or additional sand around the edges of each stone and tamp it down so the stone doesn’t rock. Water the area lightly to help everything settle, and top off any low spots a day or two later.
Building Steps on a Slope

Once the ground starts to rise more than a few inches over the length of your path, flat stepping stones alone won’t cut it, and you’ll want actual steps.
Step 1: Measure Rise and Run
Measure the total vertical rise (the height difference from the bottom of the slope to the top) and the total horizontal run (the distance the slope covers). For example, a 48-inch rise over a 96-inch run divided into 6-inch risers gives you 8 steps, each with a 12-inch tread depth (96 inches ÷ 8 steps).
Keep each riser around 6 inches and each tread at least 11 to 12 inches deep for a comfortable, safe step. Steeper, shorter treads feel cramped and are harder to climb, especially in wet weather.
Step 2: Dig Level Platforms
Working from the bottom of the slope up, dig out a level platform for each step at the height your rise calculation calls for. Compact a gravel base in each platform the same way you would for a flat stepping stone, about 4 to 6 inches deep.
Step 3: Set the Risers
For timber steps, use pressure-treated lumber or landscape timbers as the riser at the front edge of each step, and drive rebar or long stakes through pre-drilled holes down into the soil to anchor them. For paver or stone steps, set a row of riser blocks on the compacted gravel and check that they’re level side to side.
Backfill behind each riser with gravel and compacted soil so it can’t lean forward over time.
Step 4: Add the Tread Surface
Fill behind the riser with more compacted gravel, add a thin bedding layer of sand, then set your stepping stone, paver or gravel surface on top, sloped very slightly forward (about ¼ inch per foot) so water runs off instead of pooling on the tread.
Tips for Stability and Safety
- Never skip the gravel base, even on slopes that already feel firm. Freeze-thaw cycles and rain shift unsupported soil.
- Keep riser height consistent from step to step. Uneven risers are a common trip hazard.
- Add texture to stone or concrete treads, or choose a naturally textured stone, so steps aren’t slick when wet.
- Light the path with solar stake lights along the edges if it will be used after dark.
FAQ
How far apart should stepping stones be? Generally 3 to 6 inches apart for an adult stride, or closer together (12 to 18 inches on center) for children or a path meant for slower, careful walking.
Do I need gravel under stepping stones on a lawn? Yes. Without it, stones sink unevenly into soft soil and become a tripping hazard within a season or two.
What’s a safe riser height for outdoor steps? Around 6 inches is comfortable and common for garden steps; residential building codes typically cap interior stair risers at about 7¾ inches, and a similar limit is a good guide outdoors.
Can I use the same stones for both a flat path and slope steps? Yes, as long as they’re thick and stable enough to use as a tread. Thinner decorative stepping stones may not hold up as a stair tread over time.
For more path and yard ideas, see our guides to garden path ideas, front yard landscaping ideas on a slope and patio pavers ideas.